

Who is this tutorial for?
Whether you're just trying to find the best time for booking your next hotel room or you're a hotel owner whose margins keep shrinking because your prices are being undercut by booking sites like Expedia and TripAdvisor, monitoring hotel booking prices can be an easy way to save money or earn more.
In this tutorial, I will show you how you can start monitoring a hotel's booking prices on all booking sites for free within a few minutes with no coding. You will then get an instant email notification when prices change.
This tutorial is also helpful for software developers and data scientists looking to extract and monitor hotel booking prices in realtime at scale using an API.
Prerequisites
- We are going to create a monitoring automation using Browse AI. You can sign up for a free Browse AI account here.
- Setting up custom automations on Browse AI requires Google Chrome. If you don't have it installed, you can download it here.
Step-by-step Guide
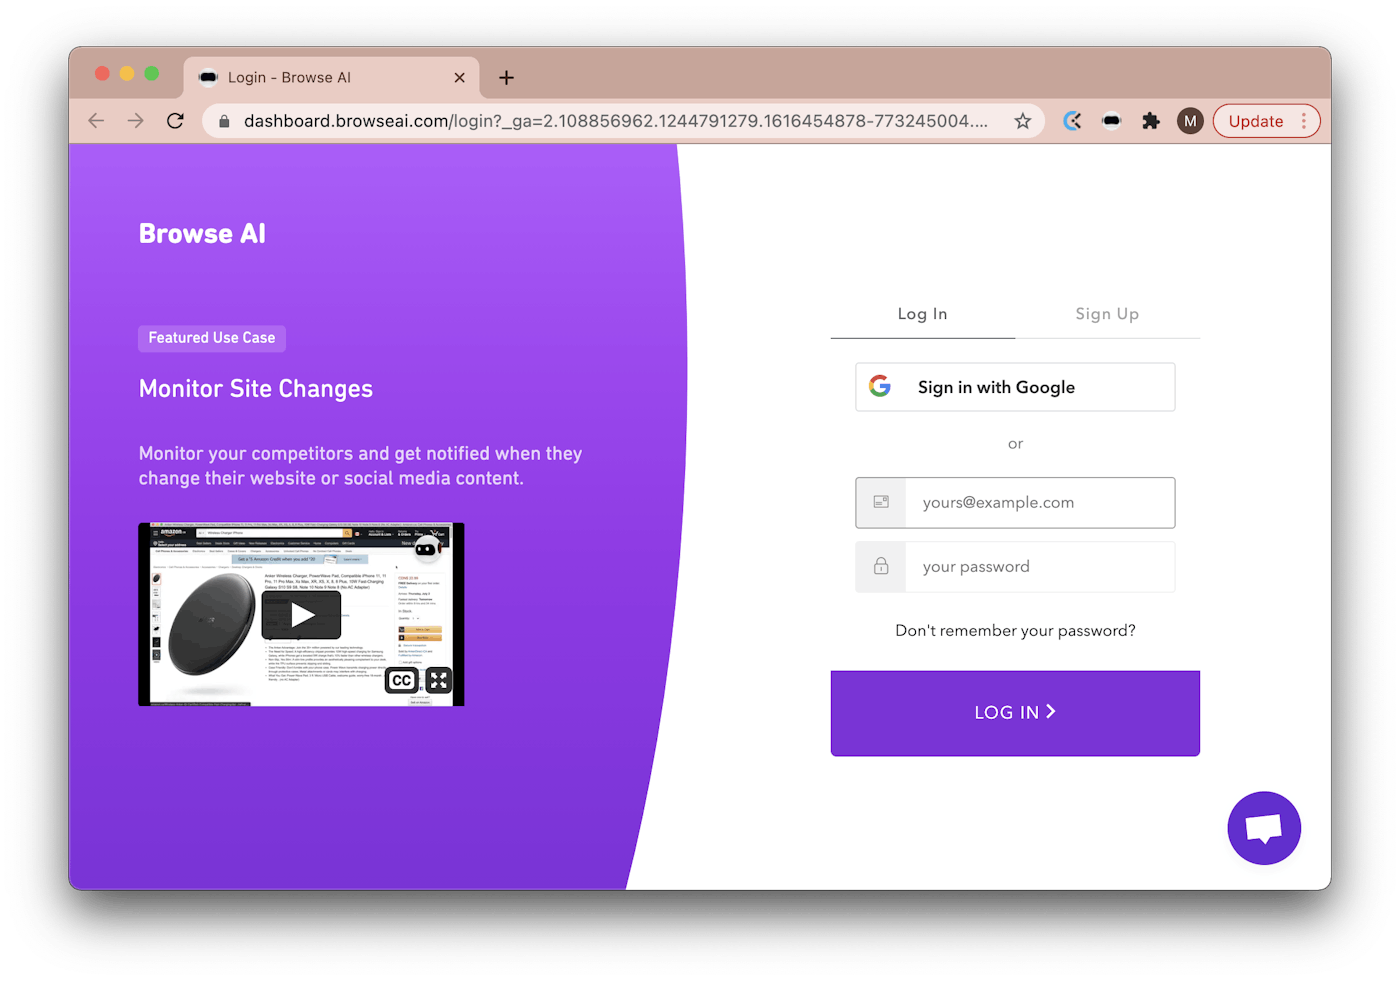
1. Start by opening your Browse AI Dashboard.
In a new tab, open Google and search for a hotel. For example, "Strathcona hotel Toronto".
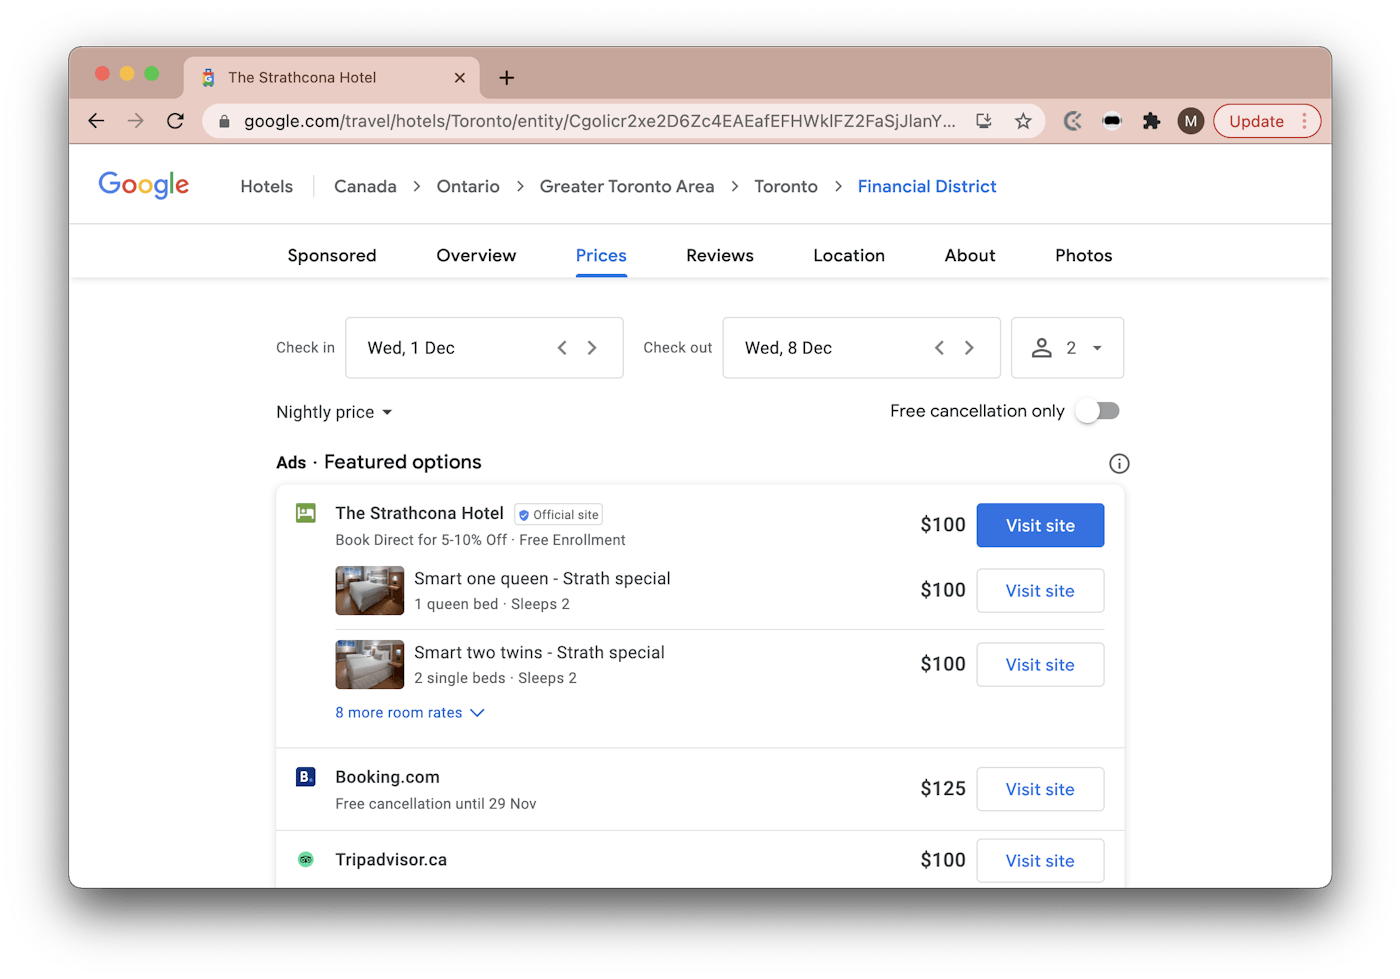
Find the hotel booking rates and click on "View more rates" to see the full list.
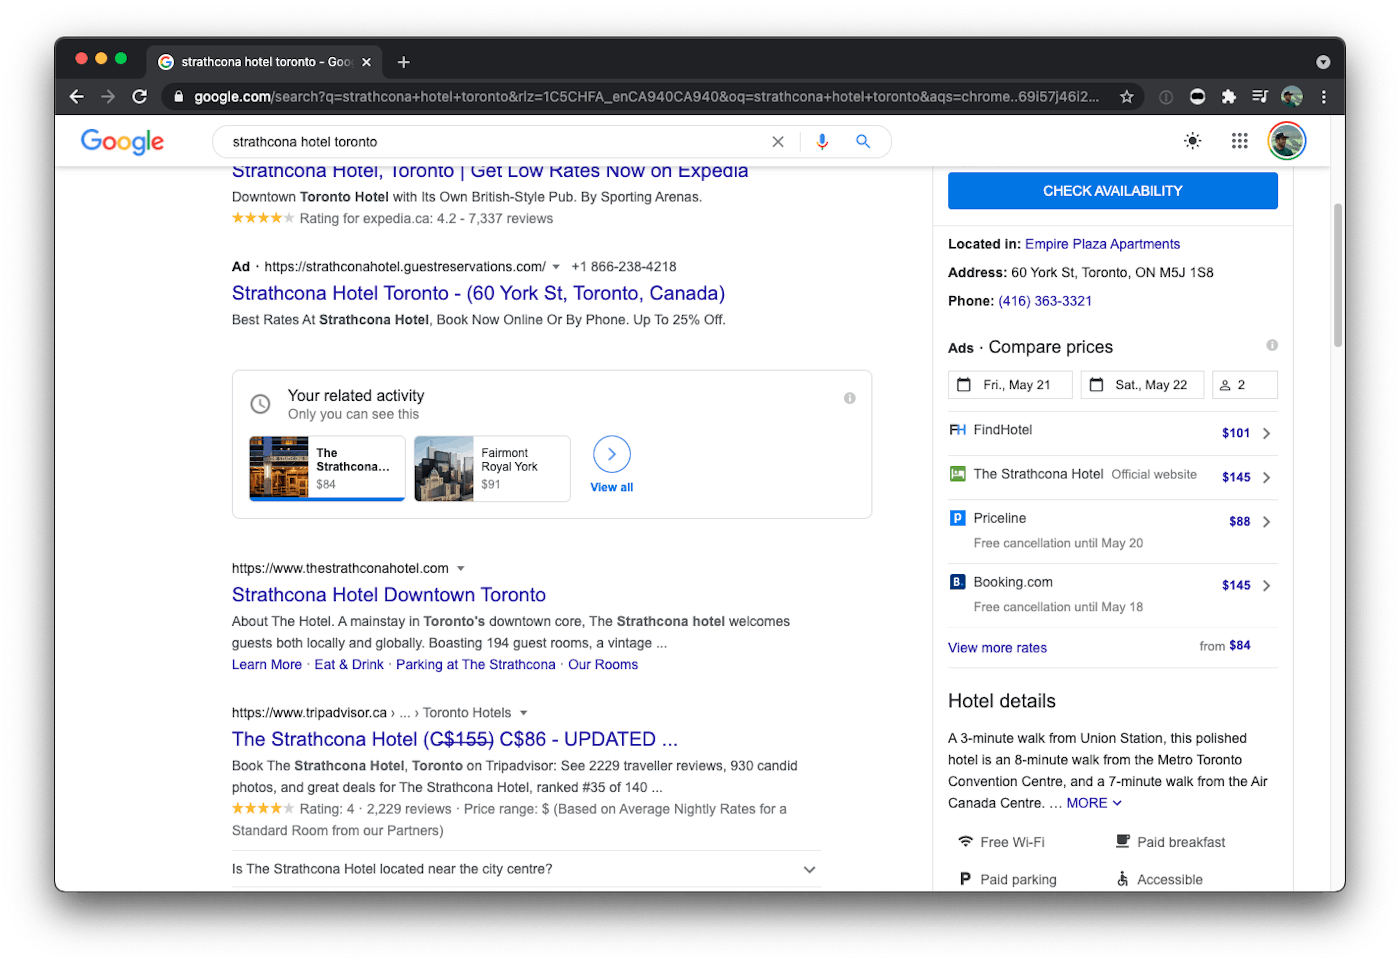
You can then select the check-in and check-out dates and see the prices on all booking sites.
2. log in to Browse AI and click on "+ Build New Robot".
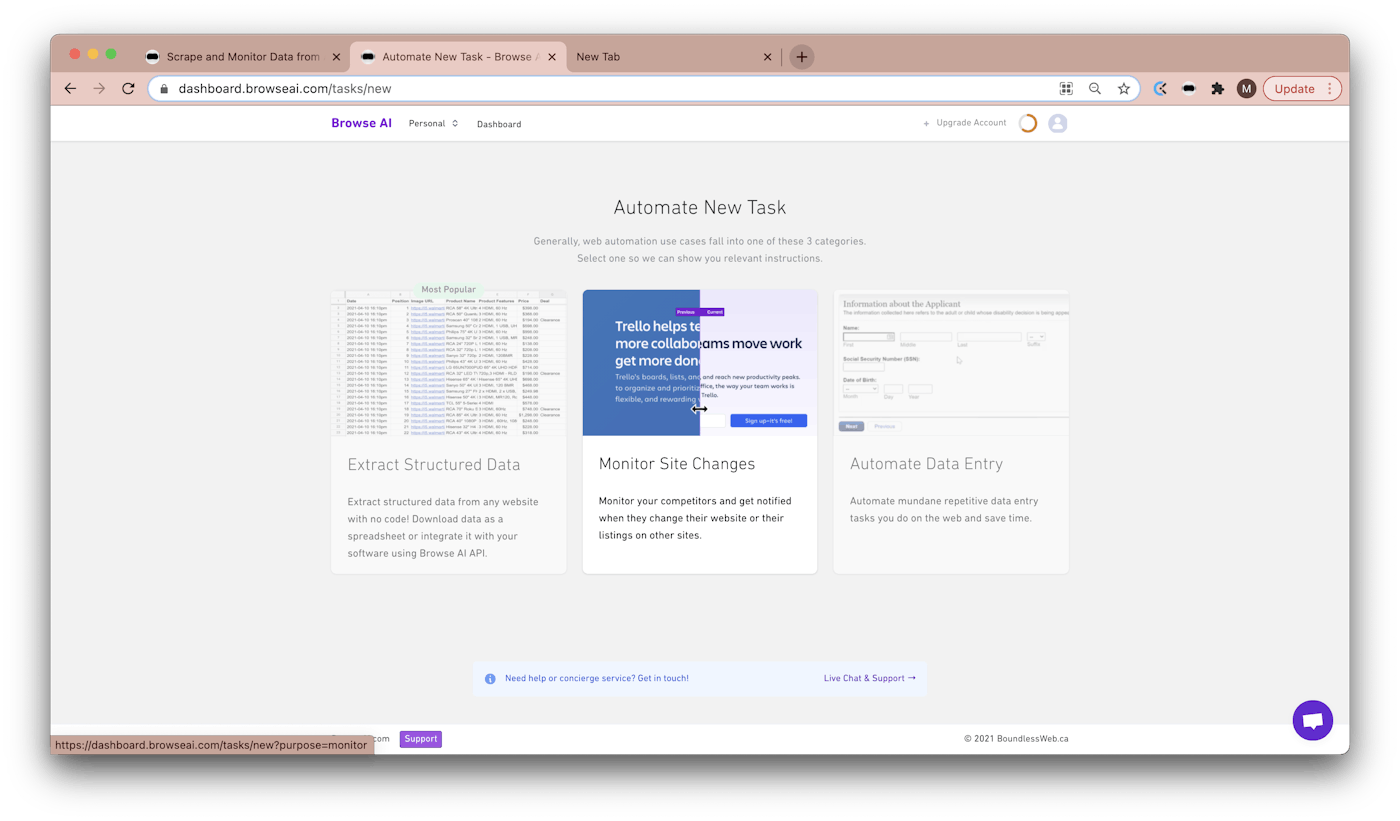
3. Click on "Monitor Site Changes".
4. Enter the Google link to hotel rates for the hotel you wish to monitor into Origin URL input.
5. "Record session cookies" should be turned off in this case because you do not need to be logged into Google to access the page. Then go ahead and press "Build New Robot".
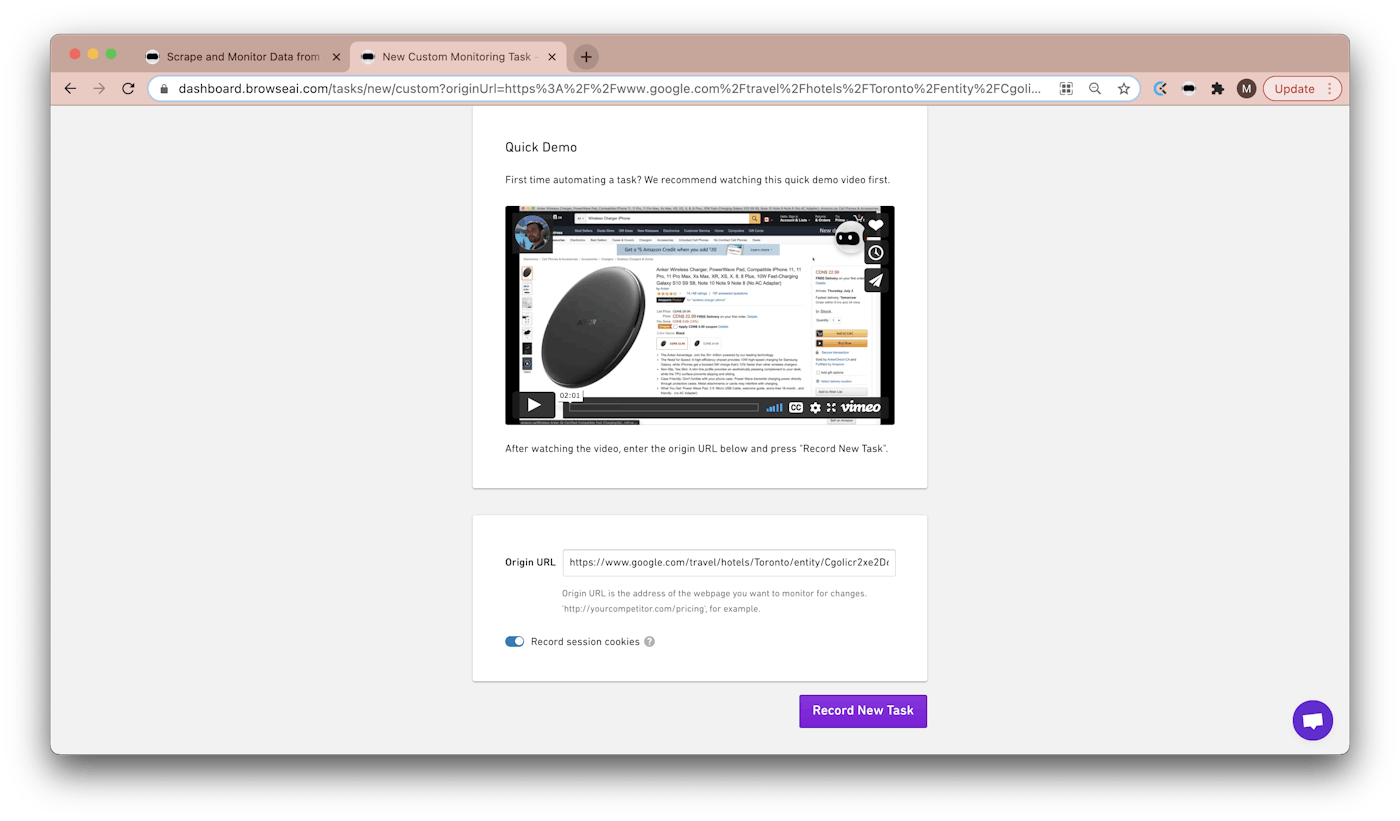
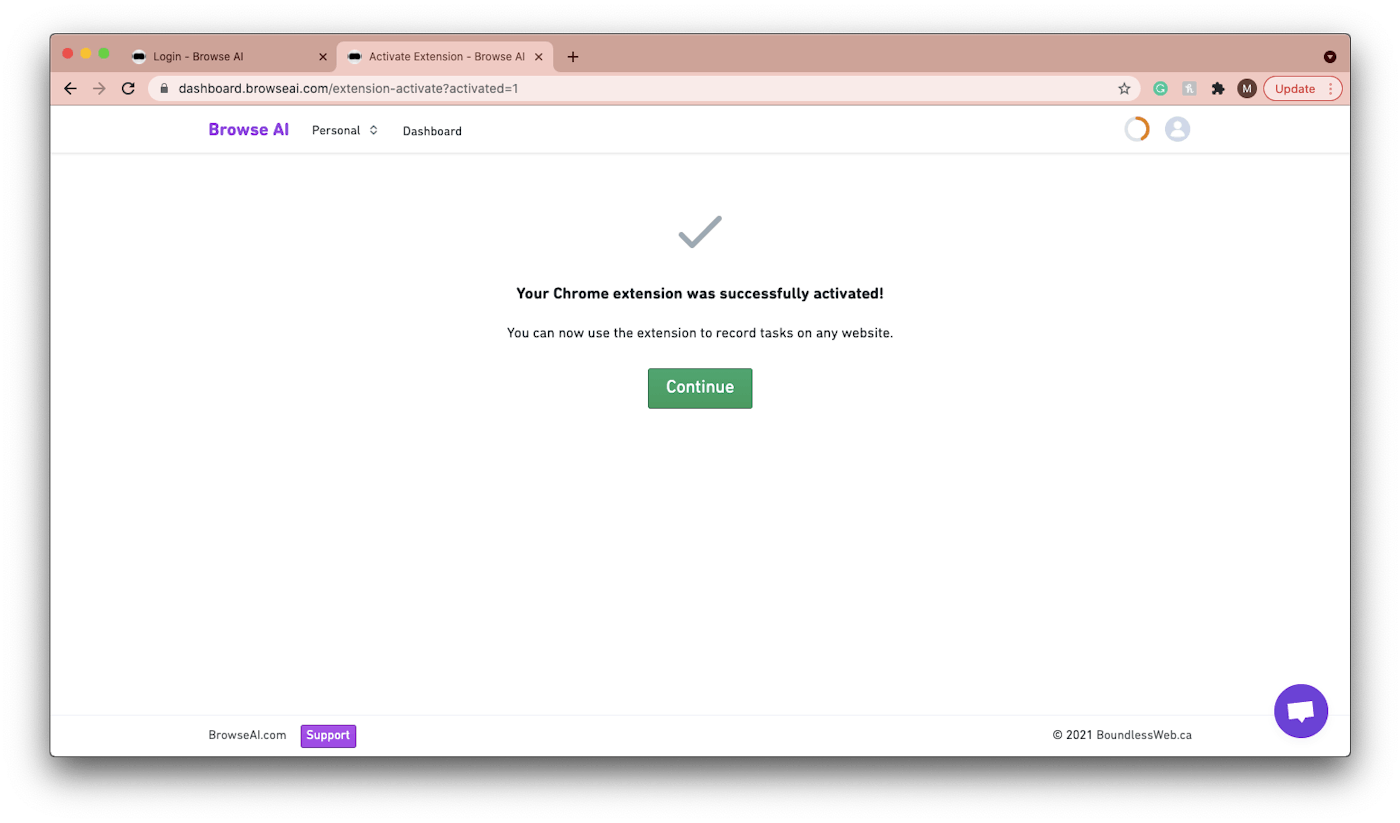
Next, you will be asked to install the Chrome extension and follow the instructions.
Once the extension is successfully activated, click "Continue" and click "Build New Robot" to begin building a Robot.
A new window should appear and display the Google hotel rates webpage with Browse AI robot. Take time to explore the new window and explore features by clicking on the robot. You can move the robot around simply by holding and dragging it to the position of your liking.
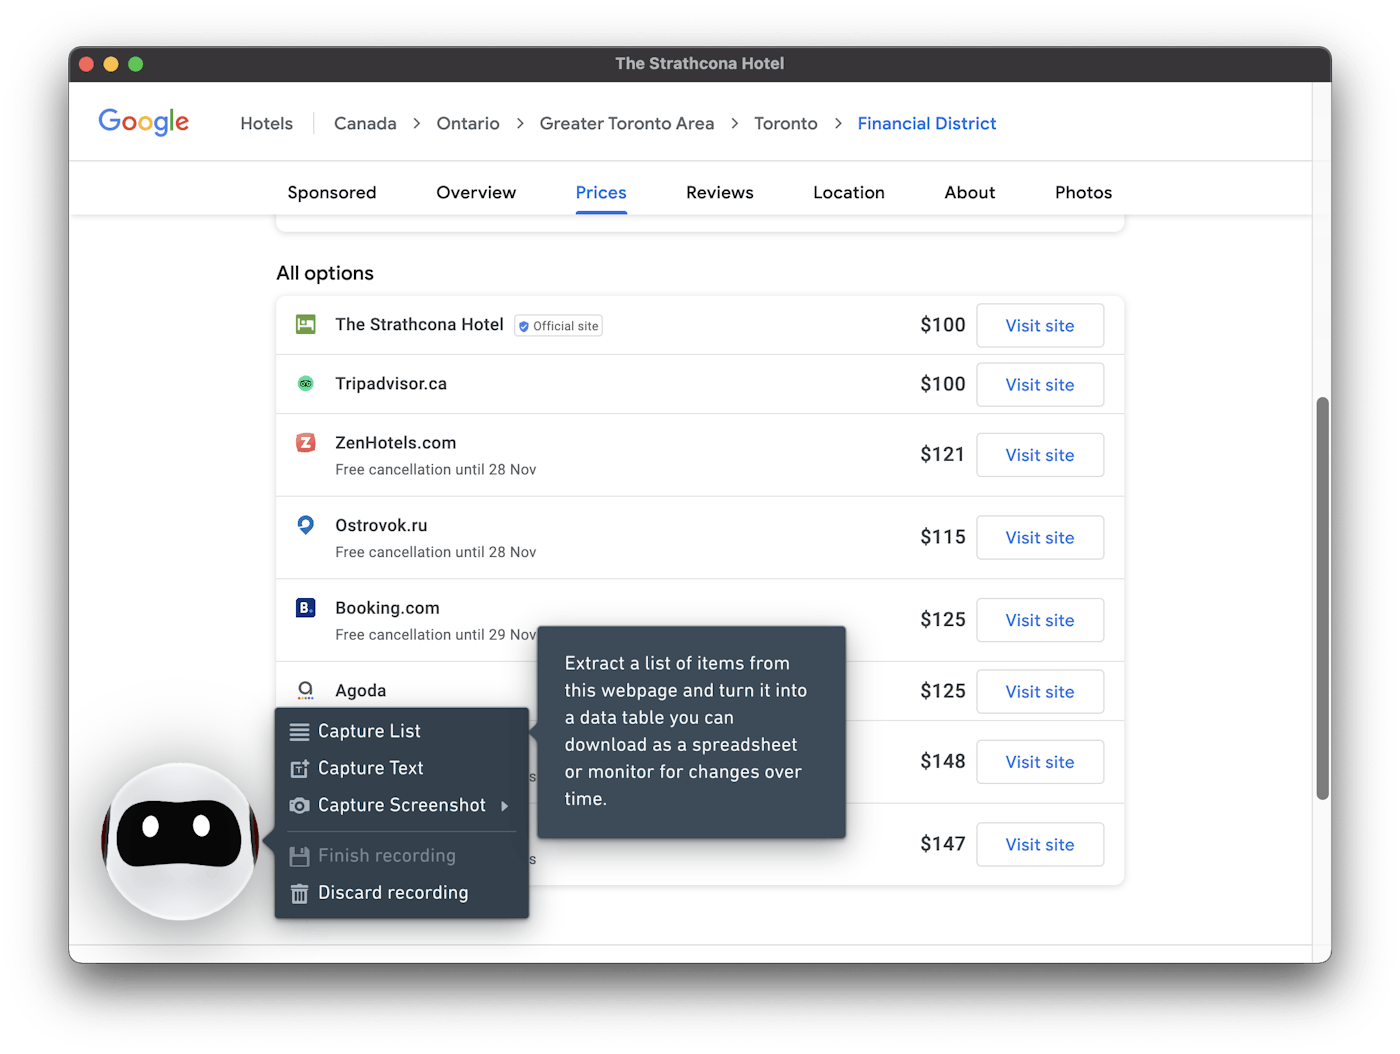
To start monitoring, click on Browse AI robot; here is where you will find the menu. You will want to choose Capture List, to extract a list of items and turn it into a data table you can download as a spreadsheet or monitor for changes over time.
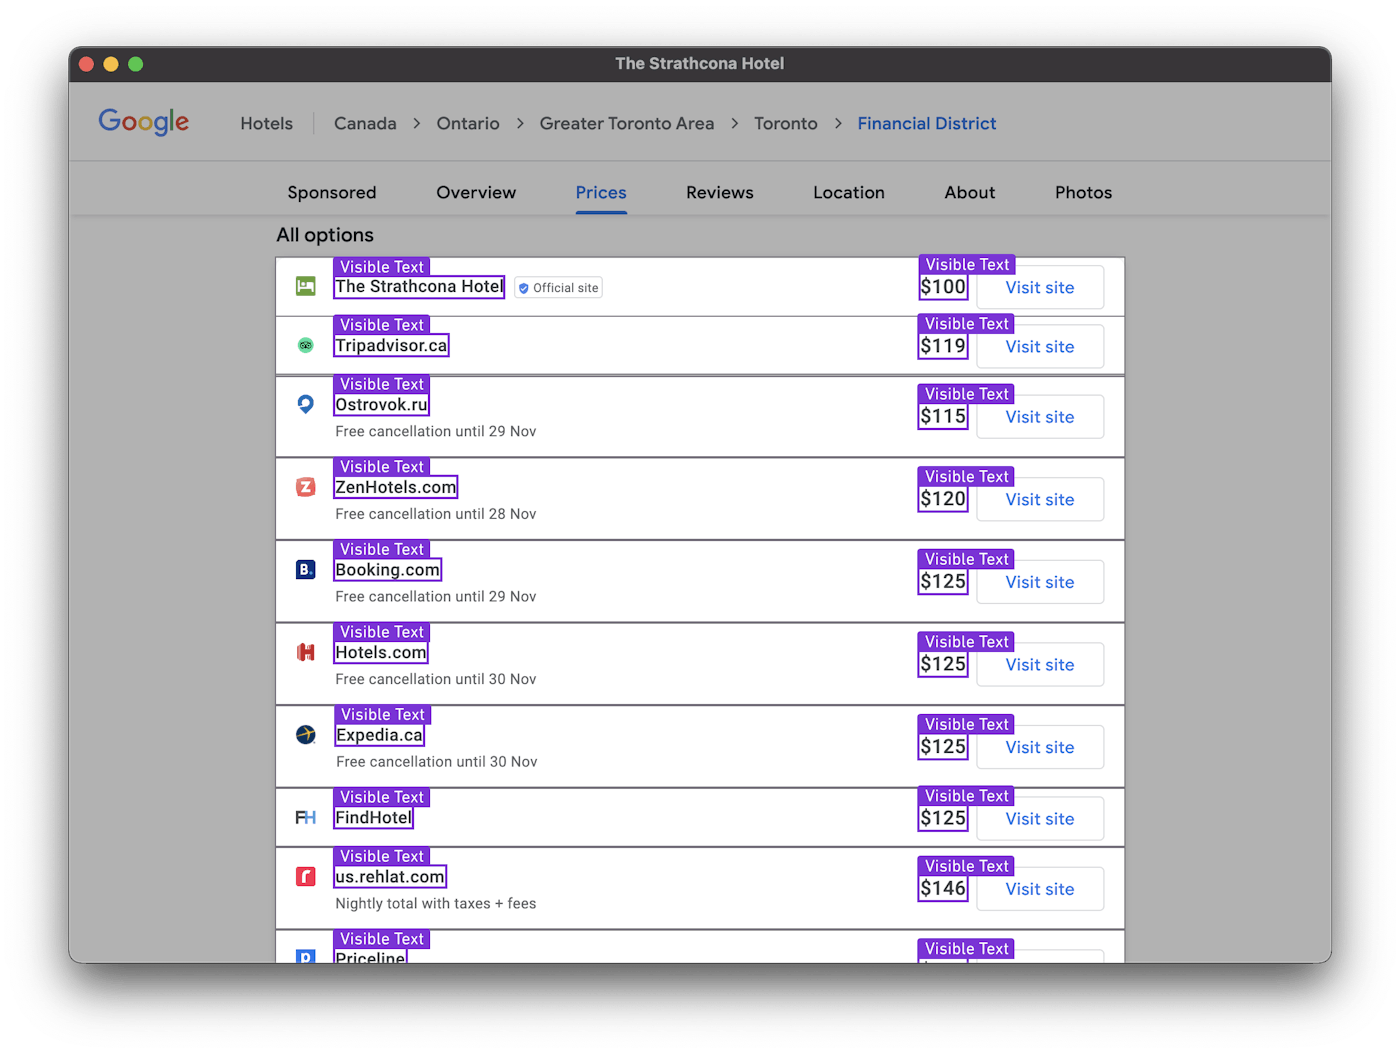
6. Select the booking prices you wish to monitor.
You will only need to select the properties of a single item and the robot will detect the same properties on the remaining items automatically.
For example, I will select the booking website and corresponding price.
7. Once you are done selecting the data you would like to monitor; press Enter on your keyboard or Escape to undo or cancel.
8. You will then be prompted to name the properties you have selected. Because you have chosen Capture List, the other items on the page will automatically update with the name you have chosen.
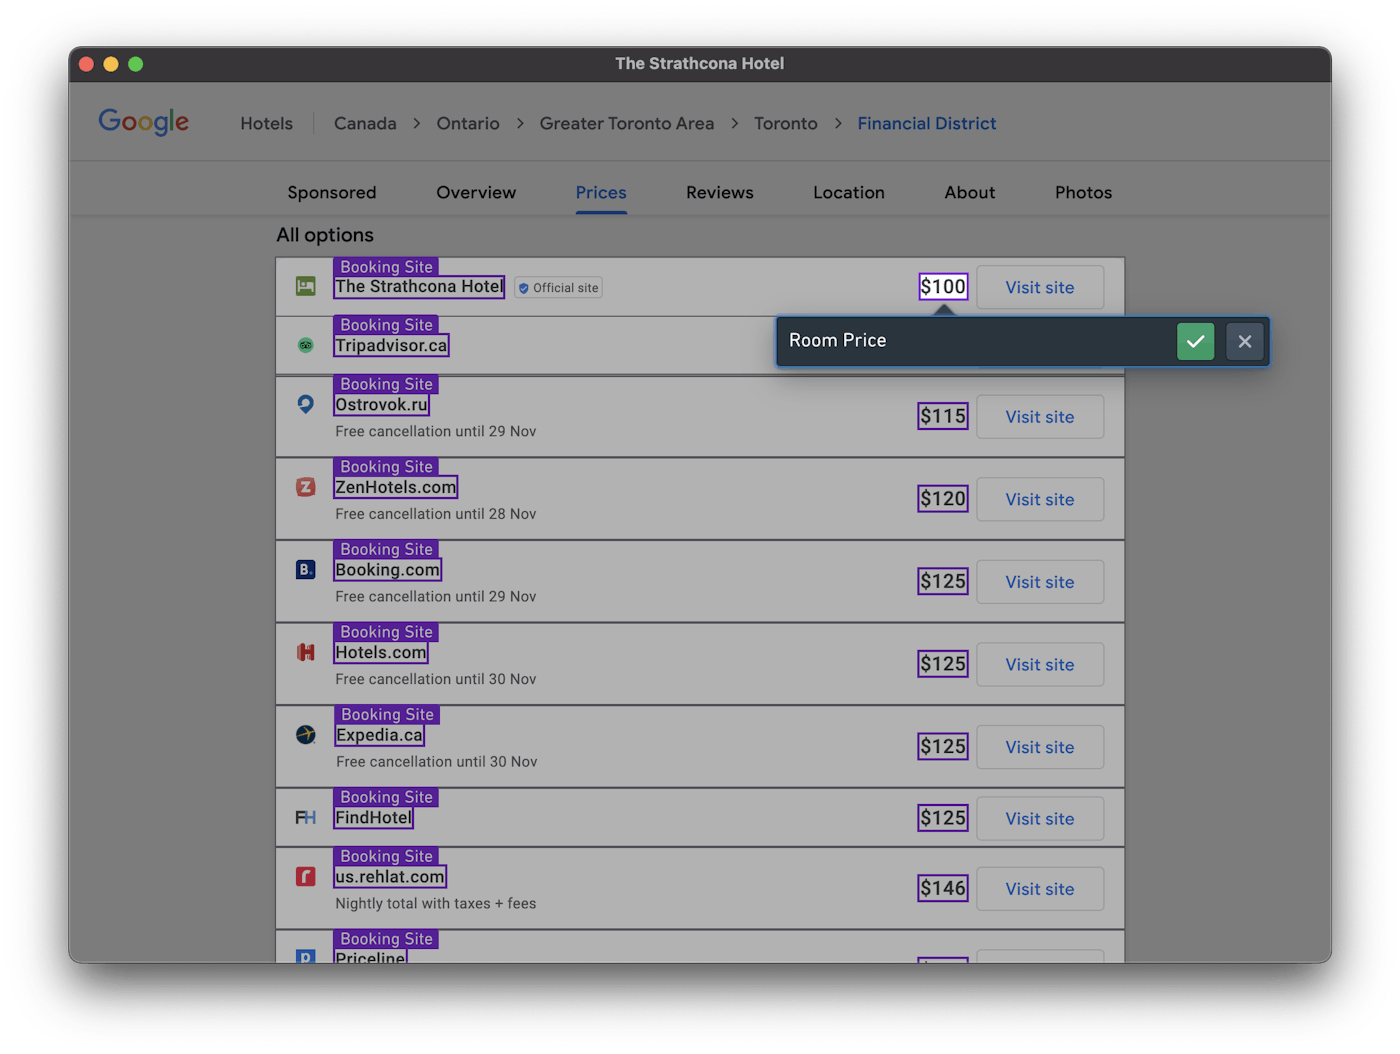
9. Once you have named the last item and hit the green checkmark, the captured list will appear to review. Ensure the data you want is in the table and name the list. You can scroll vertically and horizontally to preview the data you just captured.
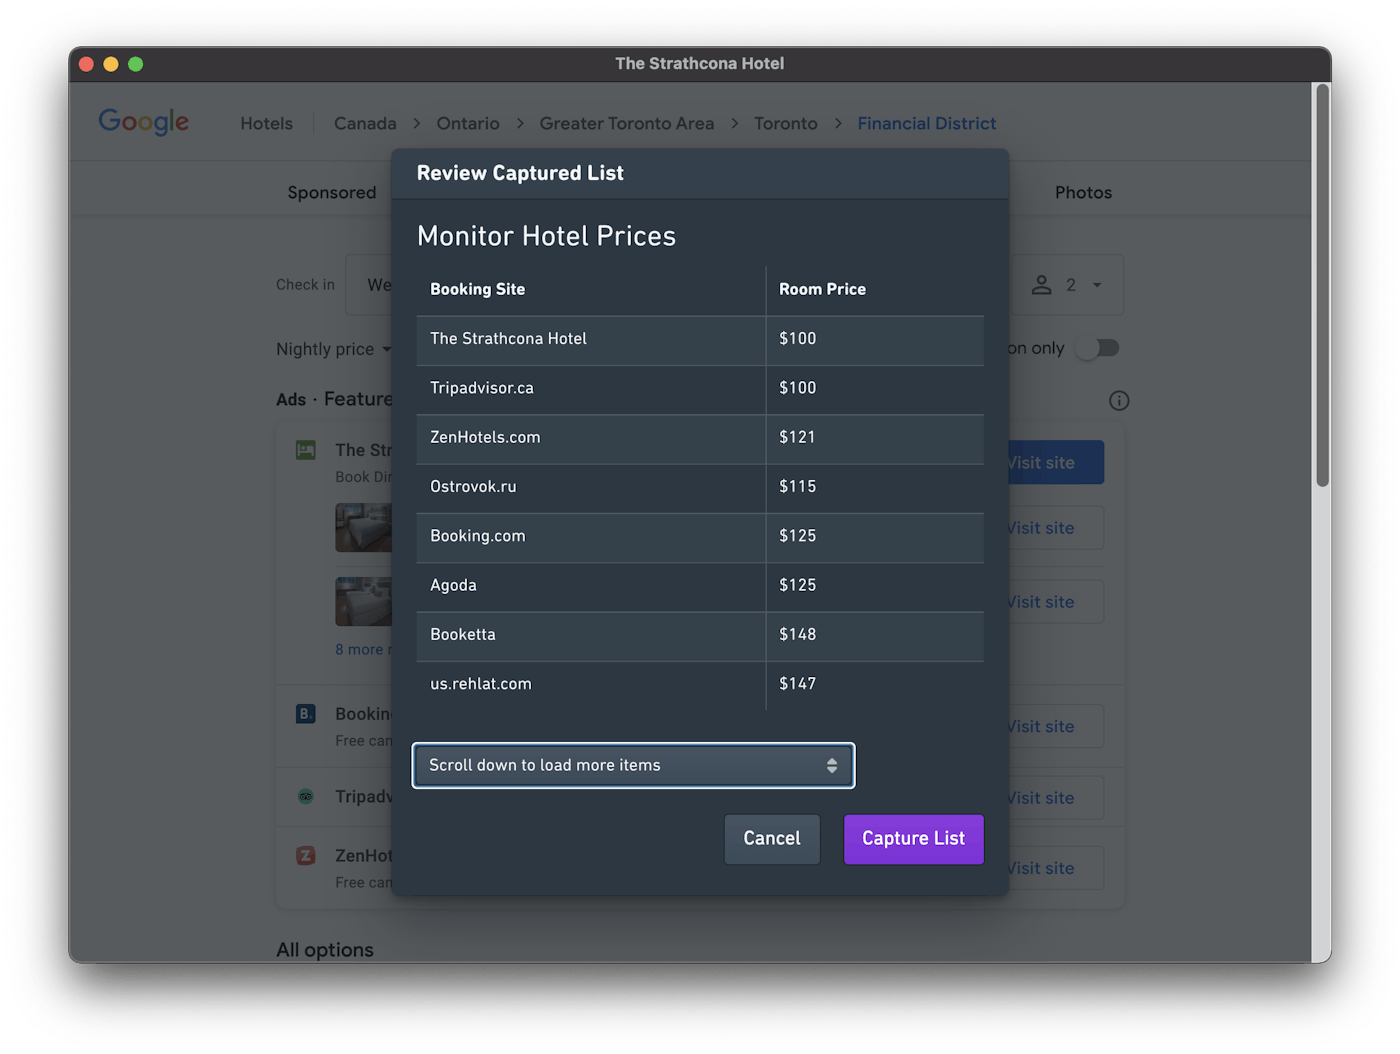
Once you are happy with the results and done gathering all wanted information, go ahead and click on Capture List.
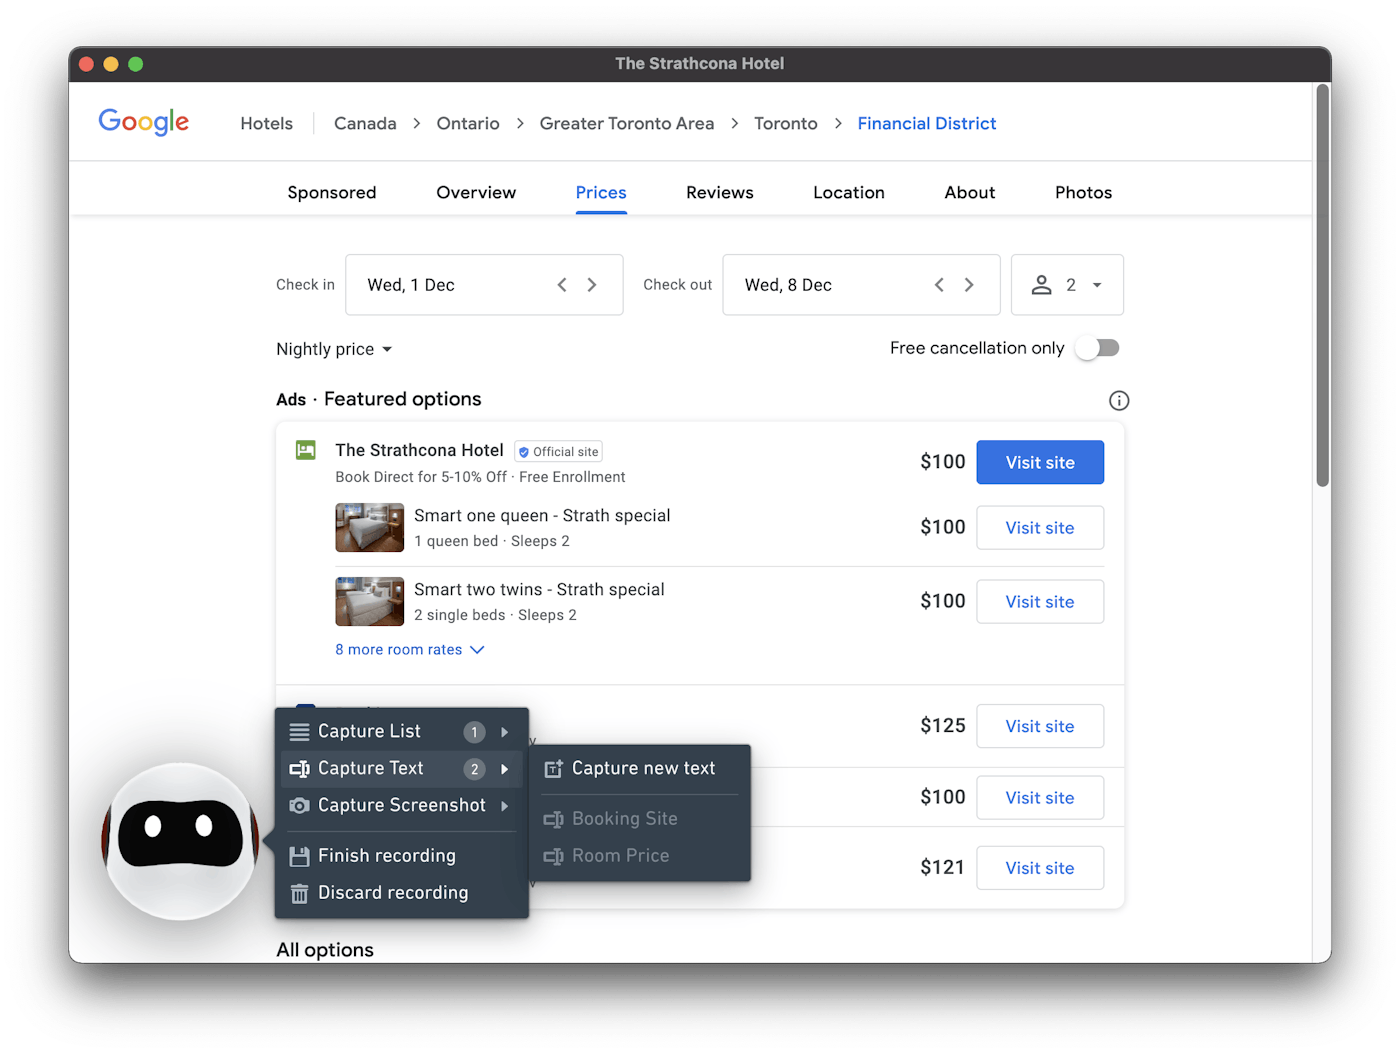
10. You will be taken back to the window to extract more information if you'd like. To finish, click on the robot and hit Finish Recording.
Or, if you would like to continue scraping data click on the robot and select:
- Capture List: If there is a list of items like a list of products that you want to capture.
- Capture Text: If you want to capture a single text somewhere like travel dates on Google Hotels.
- Capture Screenshot: If you want Browse AI to take a picture of a certain section or all of the screen. This is useful if you're looking to visually monitor the page.
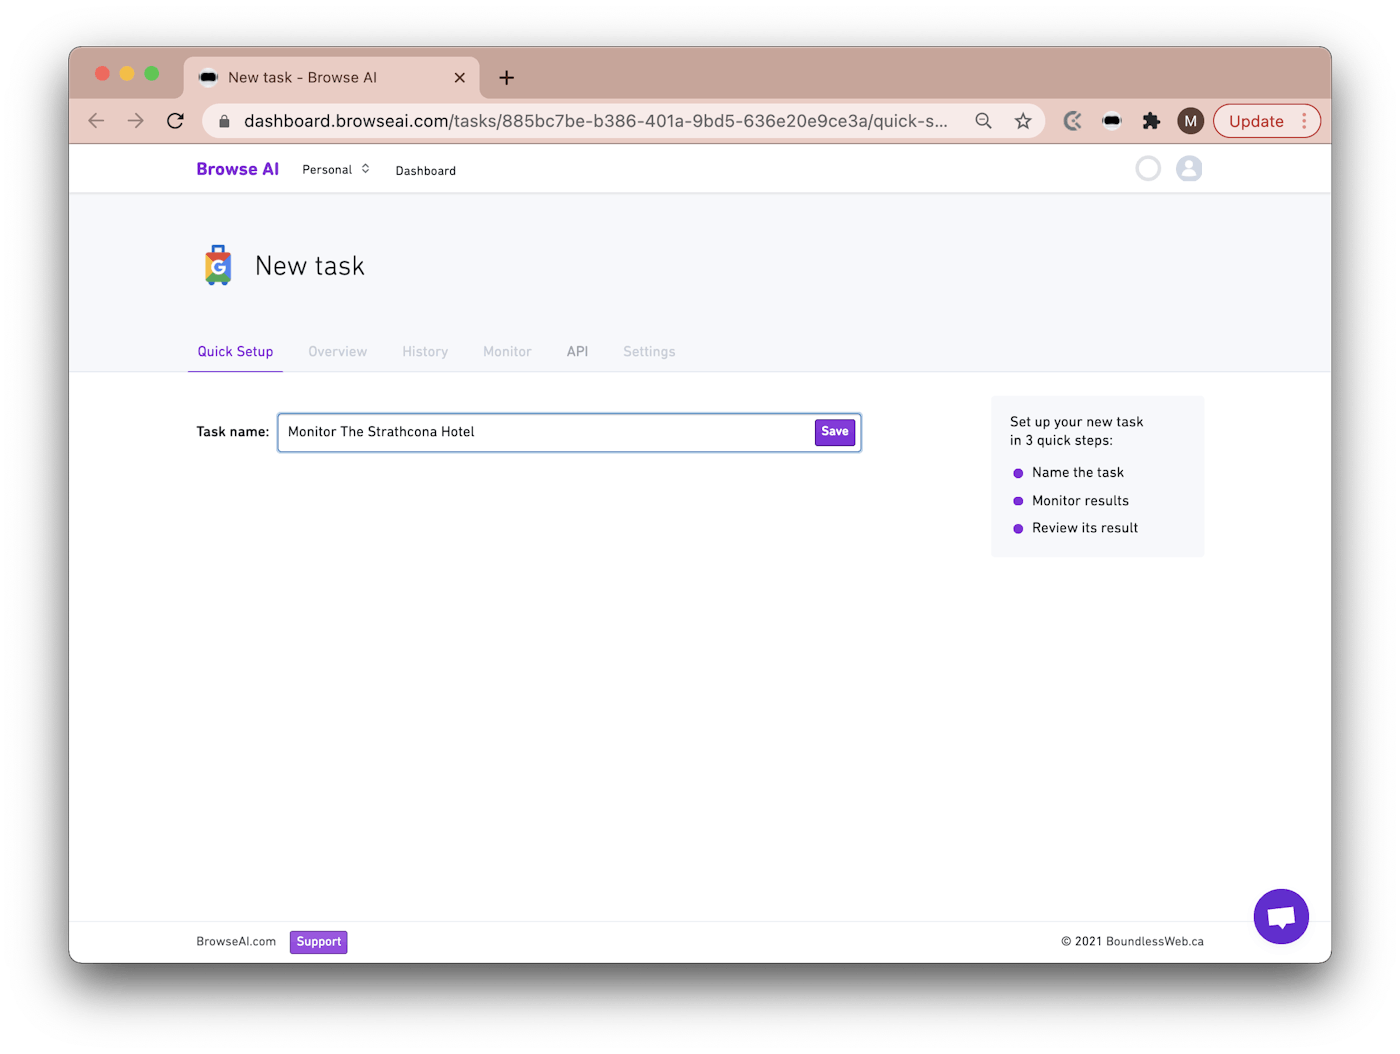
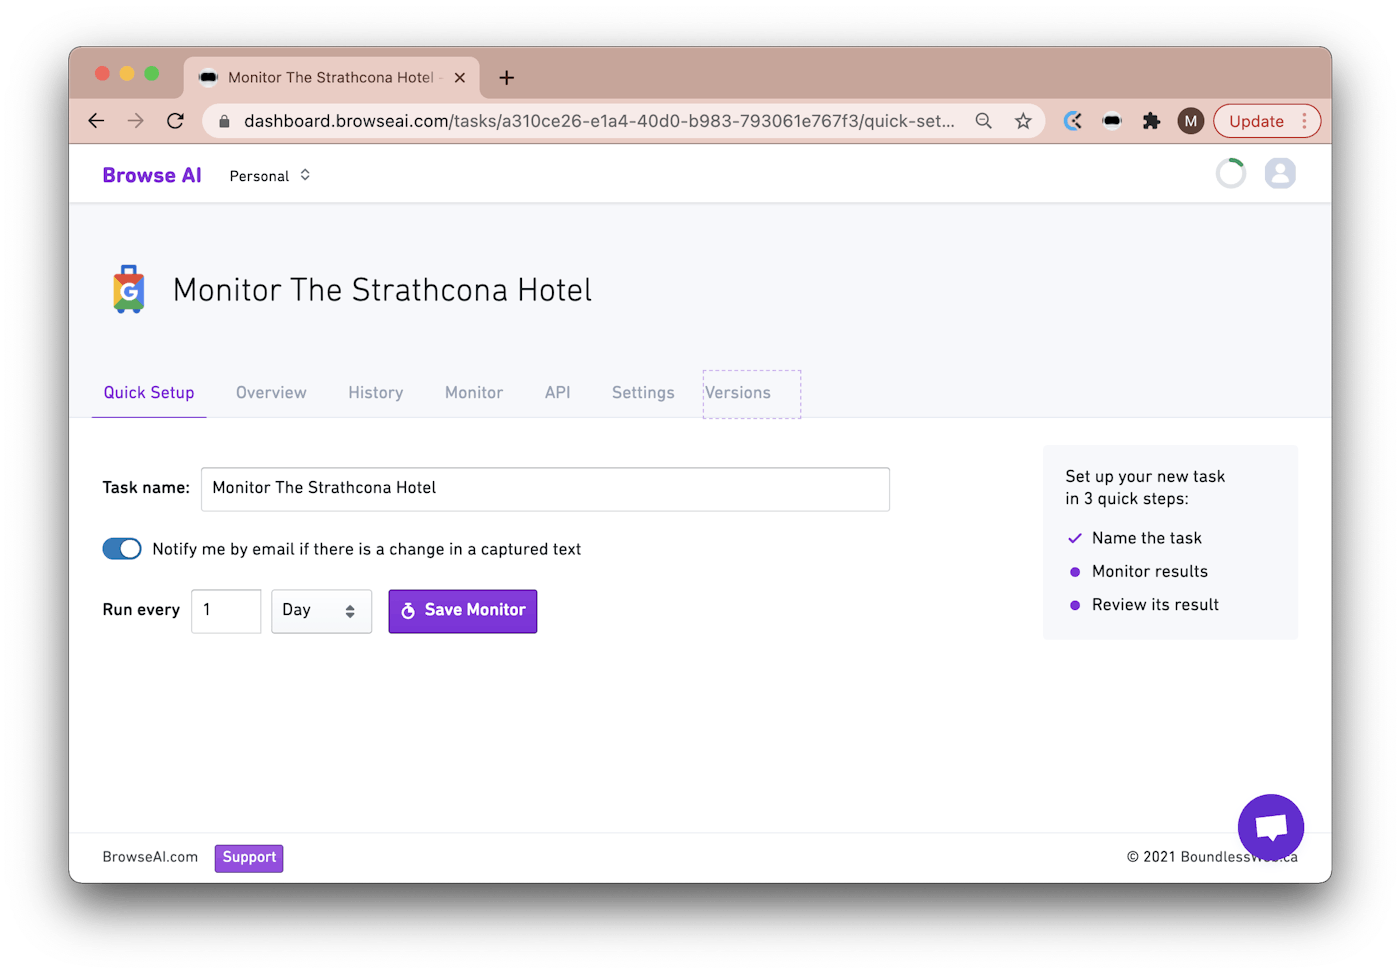
11. If you press "Finish recording", a new Browse AI tab will open, and a Robot name will be automatically generated. You can edit the name. Once you have chosen a name, press Save.
12. You can choose to be notified by email if there is a change in the captured texts. Choose how often you would like to run checks and click Save Monitor.
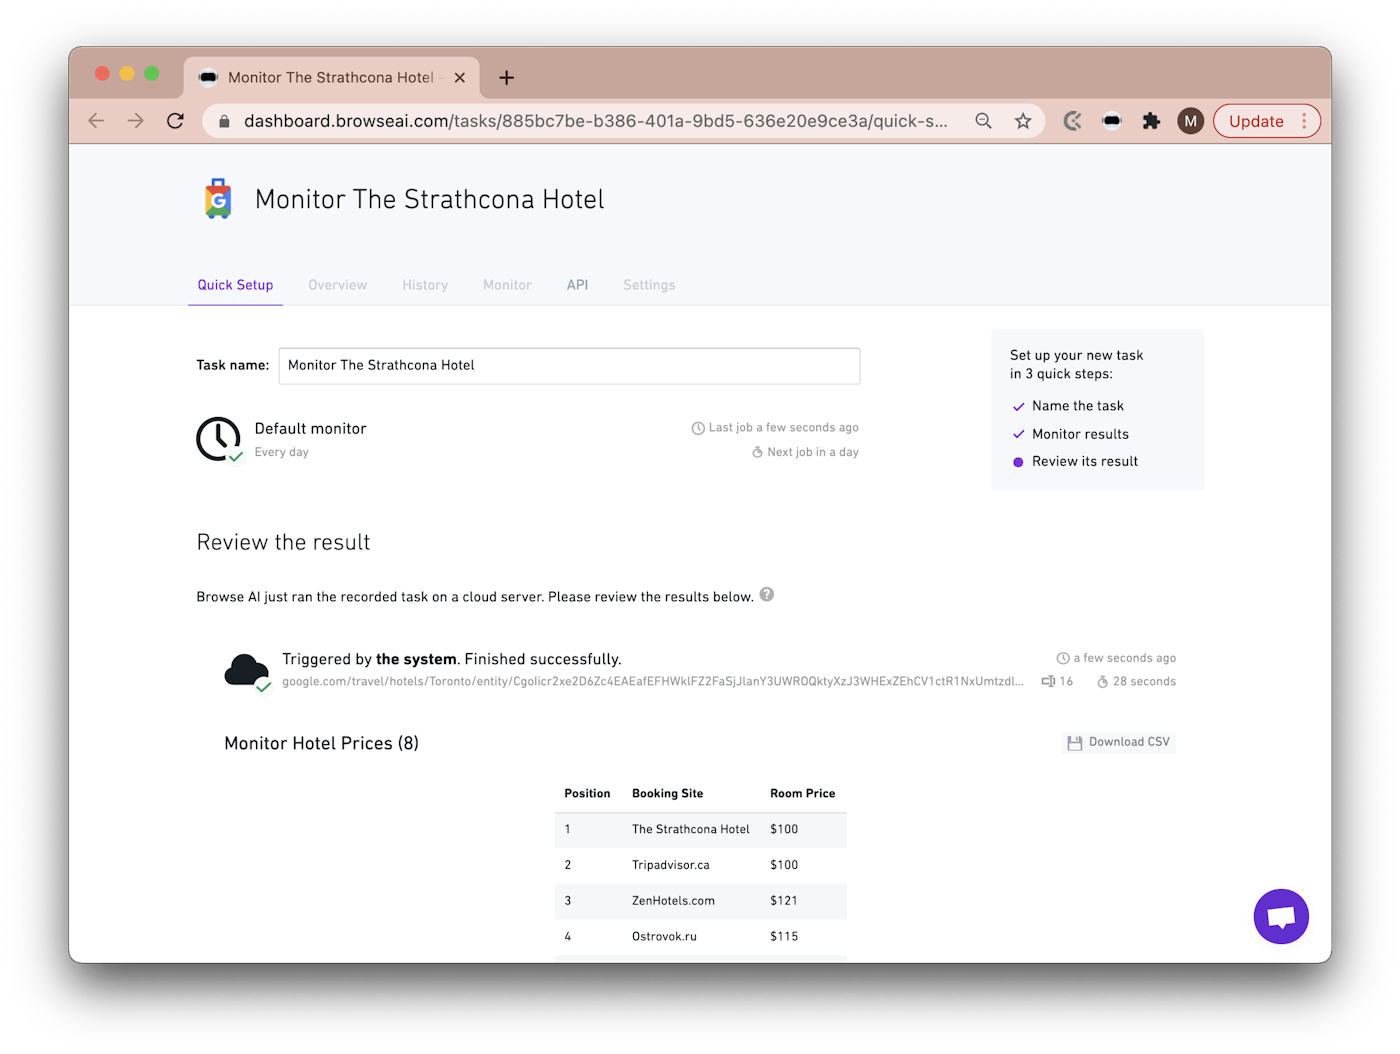
13. You will then be able to review a sample result. Make sure this is the data you wanted to monitor and press "Yes, looks good" at the bottom of the page. Otherwise, choose "No, let me re-train robot" or "No, report an issue", and Browse AI's customer success team will get back to you within 1 or 2 business days to help fix the problem.
Results
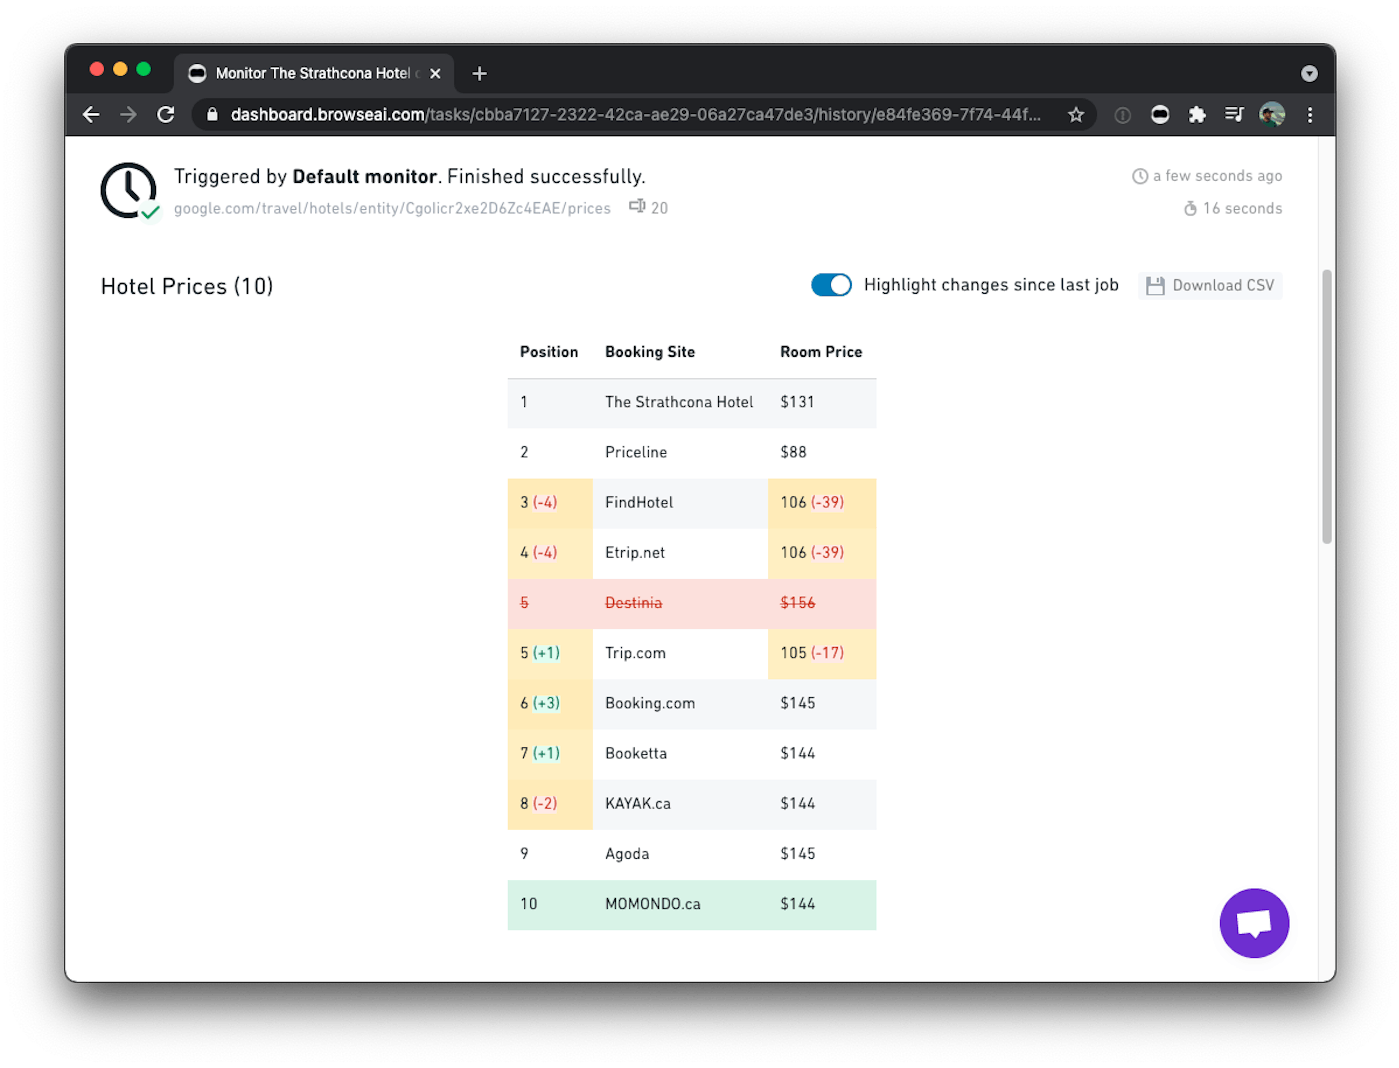
And...voilà! Your monitoring automation is up and running now! You can close the window knowing that you're going to receive an email notification from Browse AI when prices change.
Additional Tips
- To monitor more hotels or travel dates, go to the Monitor tab and create a monitor with a different Origin URL variable.
- To get an overview of all your Robots, click on Dashboard in the page's top-left corner. You can monitor, access, and edit all of your tasks at any time on any device.
- If you would like to delete or Re-train a robot, click on the task Settings tab and scroll to the bottom.
- If you would like to run your automation programmatically, sync the captured data with a Google Sheet or Airtable, or integrate with other tools using Zapier, Pabbly, or Make.com, visit the task Integrate tab.
Need Help?
I hope this tutorial was helpful! If you're stuck or have any questions or feedback, my colleagues and I would love to hear from you! Just head to Support and chat online, email, or schedule a meeting to contact us!